
Have you made seeded paper with the kids?
This is one of our favourite projects. It takes a bit of time that we fill with endless questions and answers. We hit problems and discovered solutions together. There’s something about tearing paper in a group that allows time for those type of conversations. It’s a time involved process that depending on your climate can take days so they get to value patience. I tell you there is something about working so hard and seeing what you’ve done that’s more than the smile on their face but a big memory too.
We had made seeded paper before without a screen. This time we would do the usual plus a home made screen and shaped seeded paper.
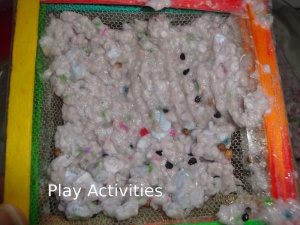
Homemade screen
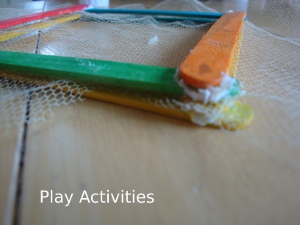
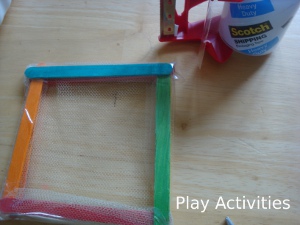
We used craft sticks glued together with some netting we had lying around.
It was pretty tricky to do with little fingers but we got there with a double frame. The Quiche dish came in handy to help flatten the frame and allow the glue to really stick well. We were able to add books to the dish to weigh it down. Lastly, we added packing tape around the edges to keep it sturdy and protect the wooden sticks. This was really tricky for me. Next time I would trim this tape better.
Paper Preparation
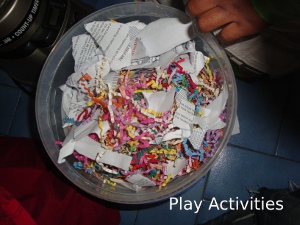
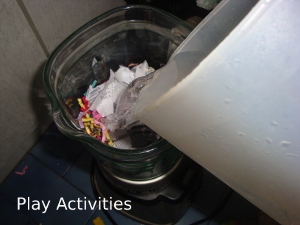
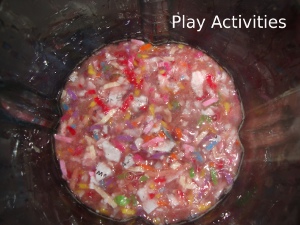
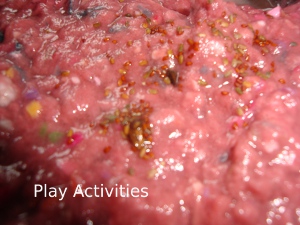
We all watched a movie on family night and tore paper to add to the bucket. This probably accounts for the large pieces of paper in places 🙂 Collecting all the paper during the week was easy as we swiped it from the recycling. We added a few shredded paper bits as well for colour. Don’t pack the blender too high with paper and add enough water to blend, mash and pulp. We added too much water but it all dries out in the end. It takes a little longer though. Pulse the blender to bring the paper and water to a mush. Being careful not to overwork your motor.
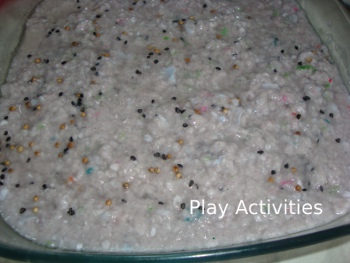
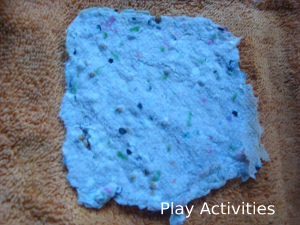
We worked on two different paper types with a different seeds and colours. Sprinkle seeds on top of pulpy paper. Ours was in a large 9x 12 dish. Dip in the mini screen and be sure to get some seeds. The boys looked like they were panning for gold. The screen wasn’t super strong so we devised a way of holding it supporting from underneath and transferring to the towel.
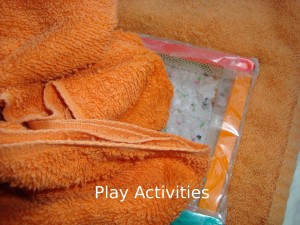
Flip the screen over so the wet paper is face down on the fluffy towel. Press the second or end of first towel, if it is big, on the top of the screen and press. Ease the fragile paper off the screen with a knife if necessary. We have our very own production line. We repeated this process altogether for most of the afternoon while listening to music.
The routine and system was great to see the boys all taking part. Encouraging each other and finding solutions to the problems.
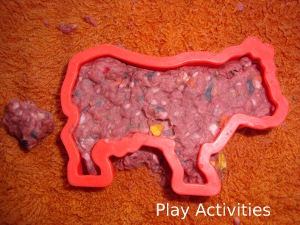
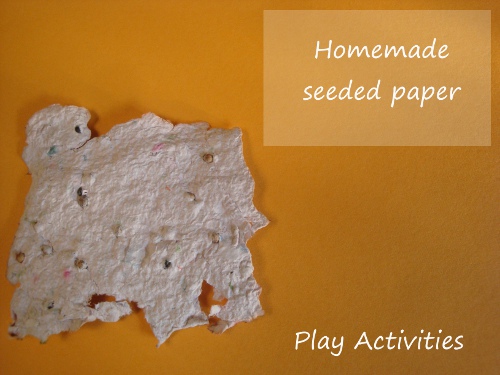
We experimented with shaped paper with the coloured pulp. Push the pulp inside your cookie cutter. Press on the towel to remove as much water as you can. Ease the fragile thick paper out. We lost a few legs and a broken neck as it’s a tricky business but well worth it. With the small mini frames we had small pieces of paper. Perfect to send in the mail to family. Great to plant in small places in a pot of our garden.
We’re thinking Mother’s day and Teacher gifts 🙂
Here’s what you will need
- Craft sticks, glue, netting, packing tape
- Torn paper we stuck to construction paper, old school letters and shredded paper. We added a few odd pieces of tissue paper bits. We didn’t use newspaper, glossy paper from magazines or card.
- Packets of seeds( 3) The larger the seeds the better to see. It was tricky dealing with tiny seeds.
- Water
- Blender
- Cookie cutters
- Patience and a long stretch of time 🙂
Another brilliant way to use seeded paper from Jen at PaintCutPaste :: Handmade Bloom Paper
This post is linked with the Come sow with me meme. Lending our voice to ONE .Bring your seed posts
___
If you enjoyed this article, get the Play Activities Newsletter. ( It’s free!)






so cool def going to try this!
It’s a lot of fun Becky. I’m sure your family will love it.
What a neat idea! I have never thought to make shaped paper either. This would be fun to try.
We hoped we would be able to play with the shaped paper then plant it. It was a little too fragile for that and little fingers. But it really looked great.
thank you so much for linking to our handmade blooming paper — they make for great mom’s day cards!
It’s nice to have a few ideas of what to do with all this paper you make. We were a little too enthusiastic and made quite a lot of paper.
What a great idea – I’ve never heard of seed paper before and I love the way it involved so many different tasks. Thanks for linking up to Parentonomy.
It really was like a production line and it was interesting as we all tried to work together on this project. We’ve not planted ours yet. The children still are admiring their handiwork. 🙂 Thanks for the comment.